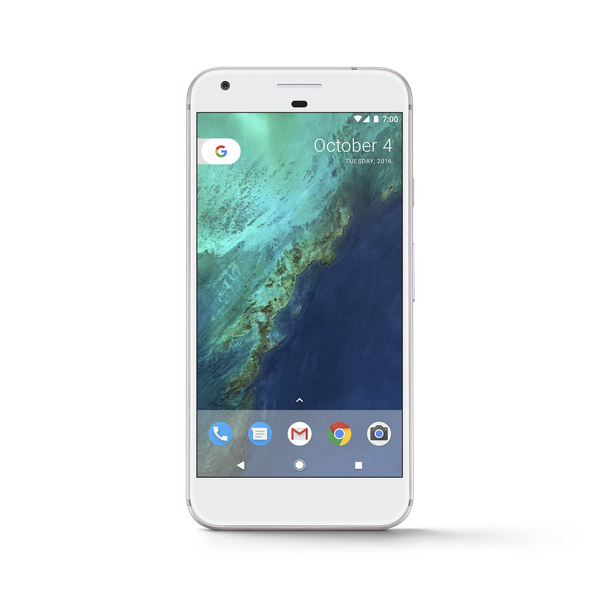
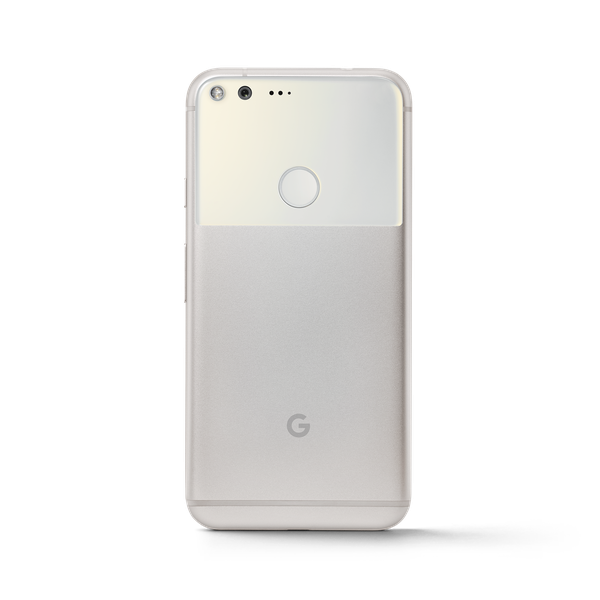
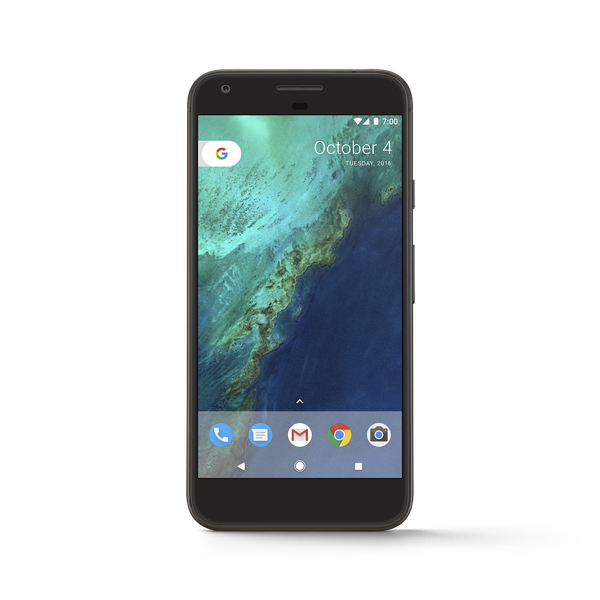
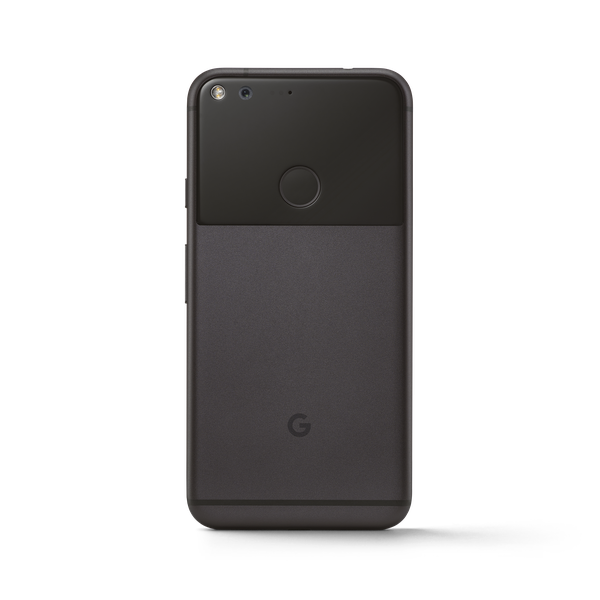
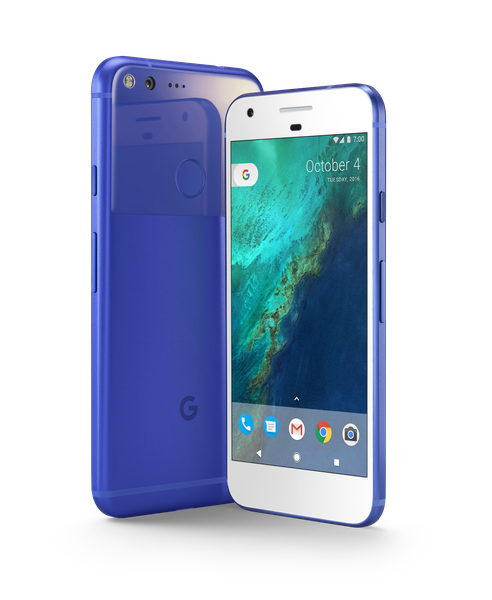
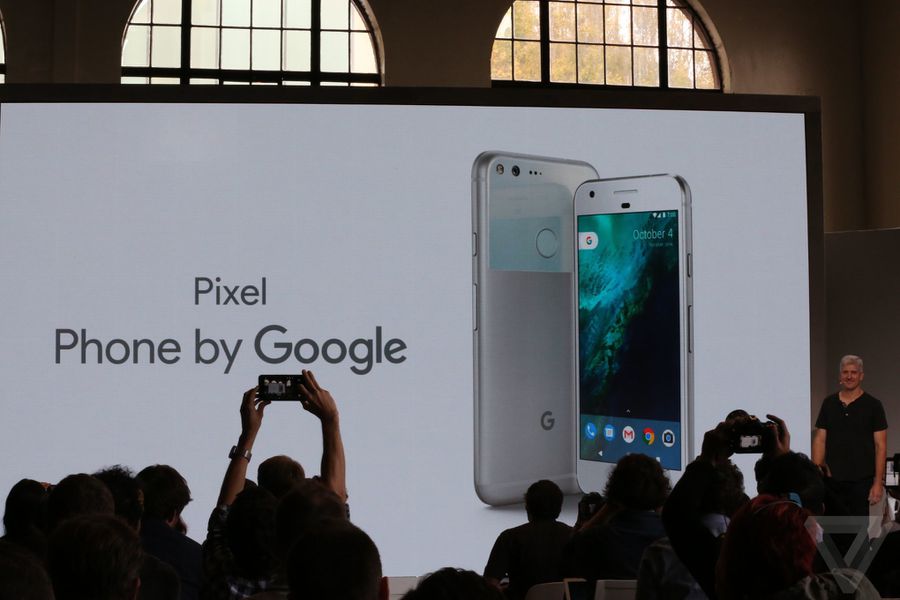
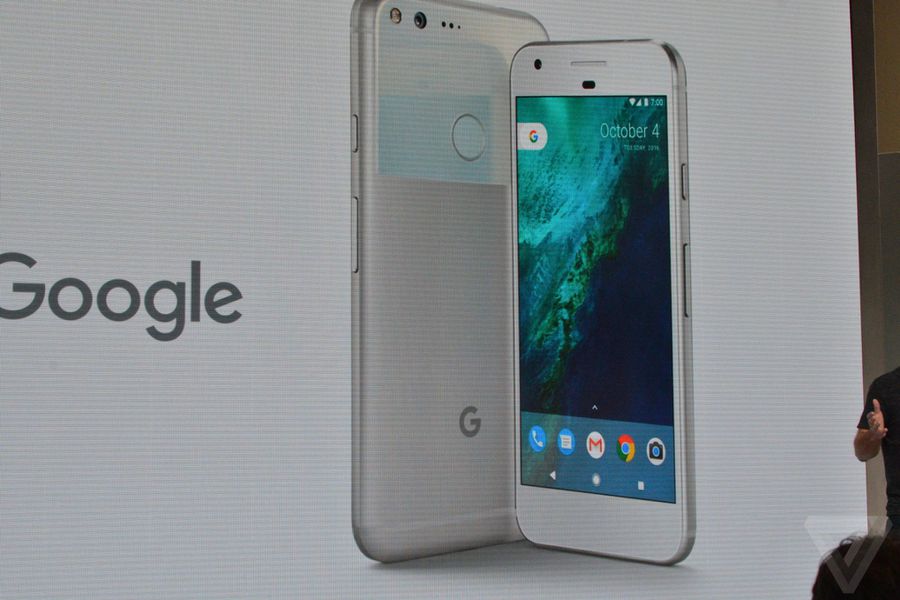
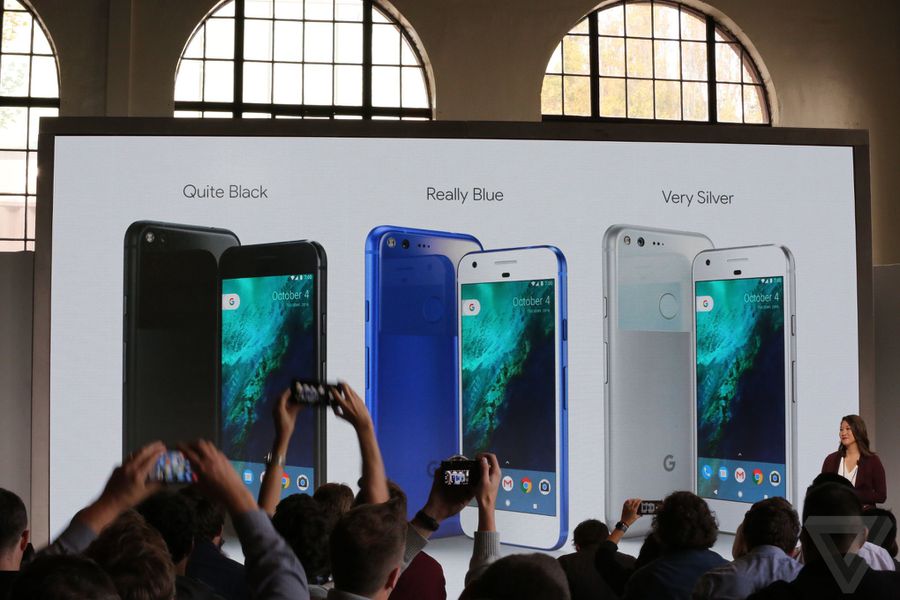
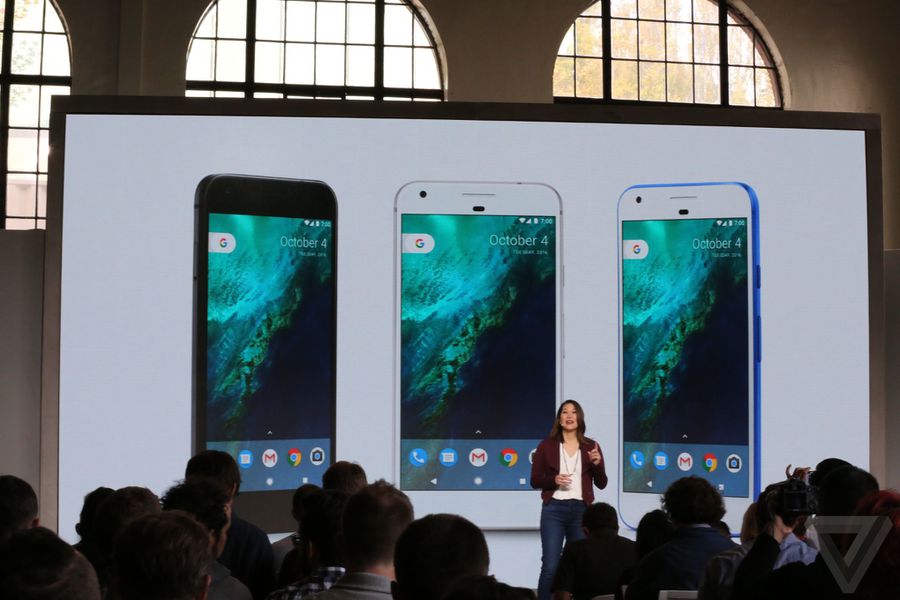
Following an absolute deluge of pre-event leaks and revelations, Google's new Pixel and Pixel XL smartphones are now finally official. Differentiated primarily by the size and resolution of their screens — 5-inch 1080p display on the Pixel and 5.5-inch Quad HD panel on the XL — these two devices are built by HTC, but Google takes full credit for their design and makes this explicit with its "phone by Google" branding. Both Pixel models are powered by the latest Snapdragon 821 processor and run a specialized version of Google's Android software, which includes support for the Daydream virtual reality platform that was announced at Google I/O in the summer.
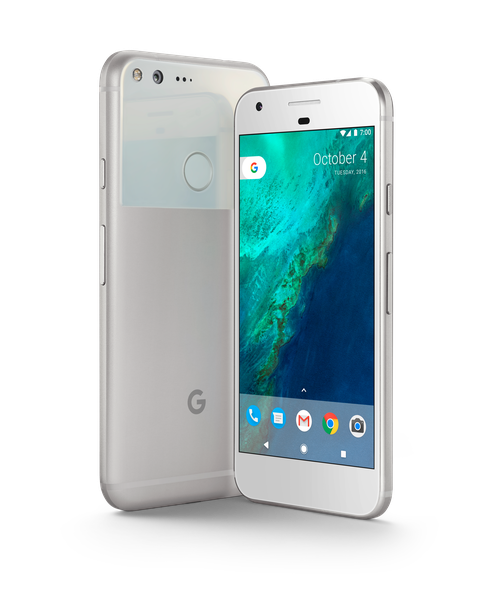
The Pixel name, says Rick Osterloh, Google's recently hired hardware chief, "has always represented the best in hardware and software, designed and built by Google, together." He highlights five key points for the new Pixel phones:
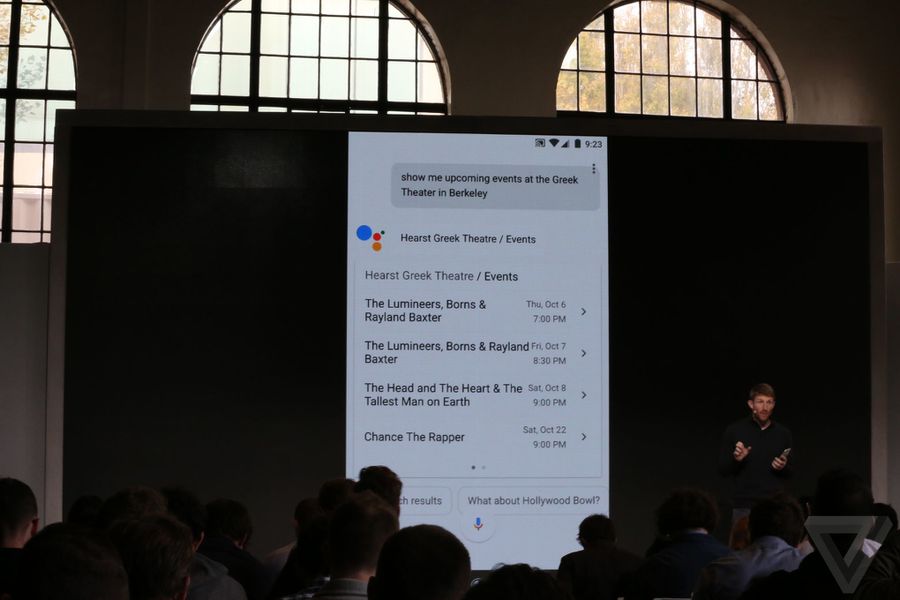
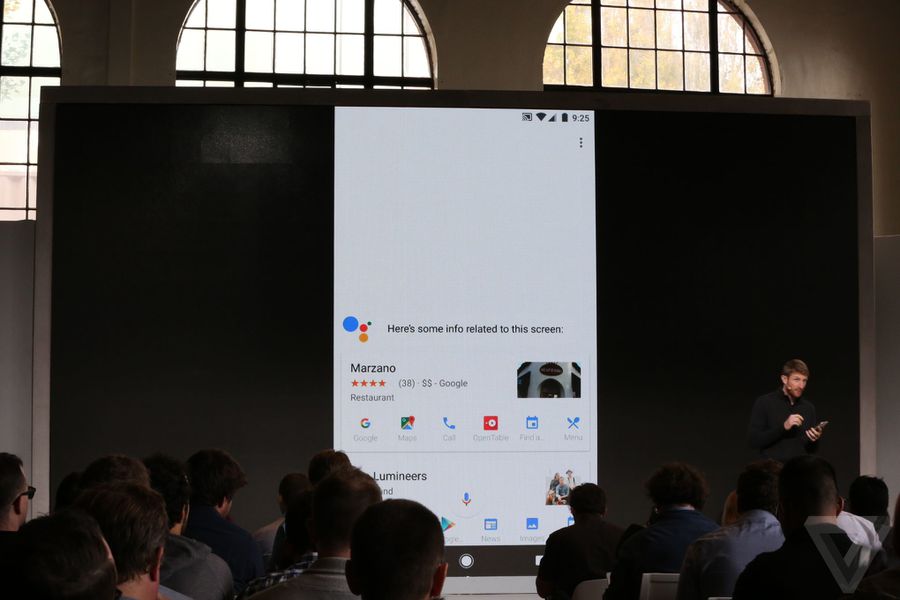
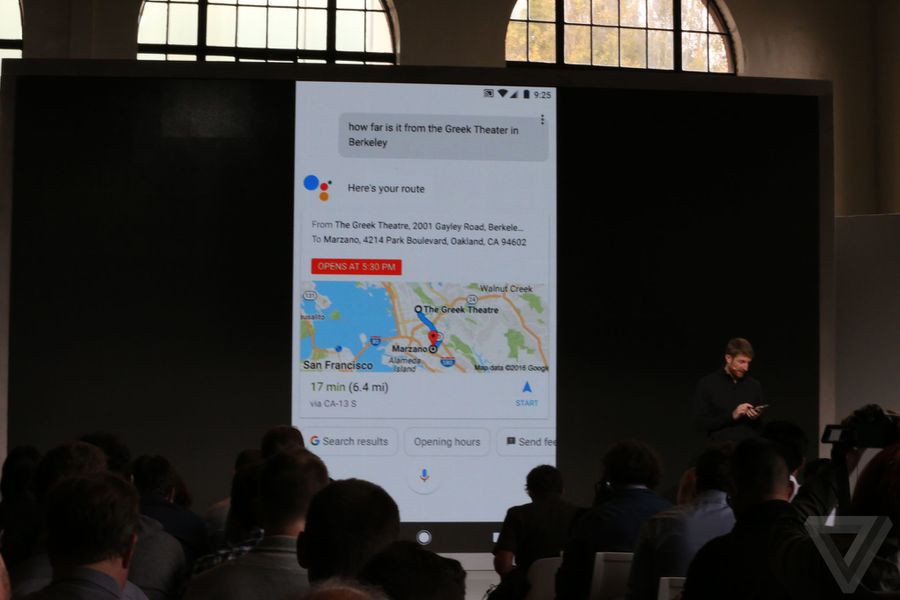
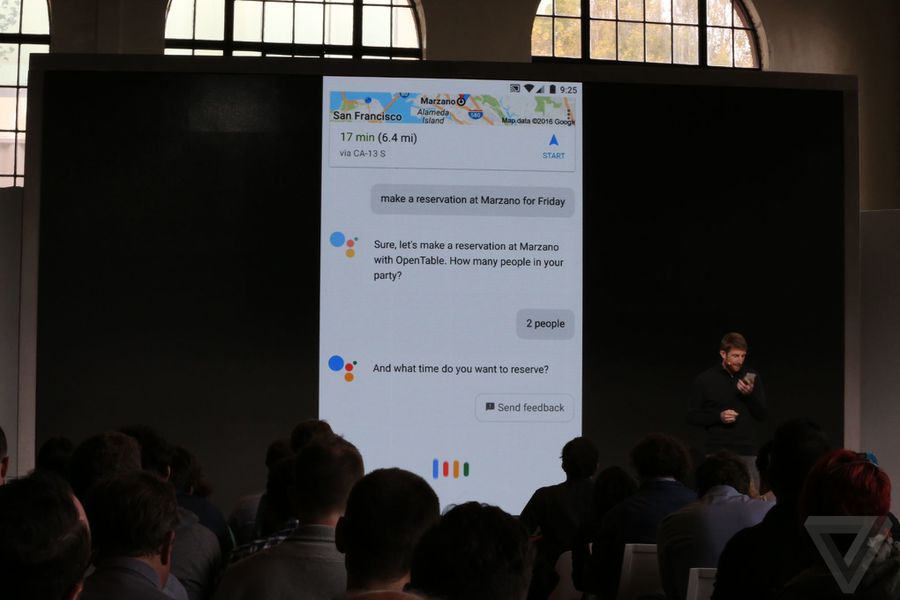
- Google Assistant. Pixel is the first phone with the new Google Assistant built in. When you touch and hold the home button or say the "hot word," the Assistant "jumps into action." In Google's event demo, the Assistant is used to bring up photos from a particular time or place from the past, and also plays whatever music you ask it to play, choosing your favorite music app by default. Similarly, it integrates the Google Now on Tap functionality, allowing the user to swipe up with information on the screen, such as a restaurant name, and provides further information, such as reviews and the restaurant's address. Also, like a bot, the Google Assistant will take your reservation for that same restaurant using only voice prompts.
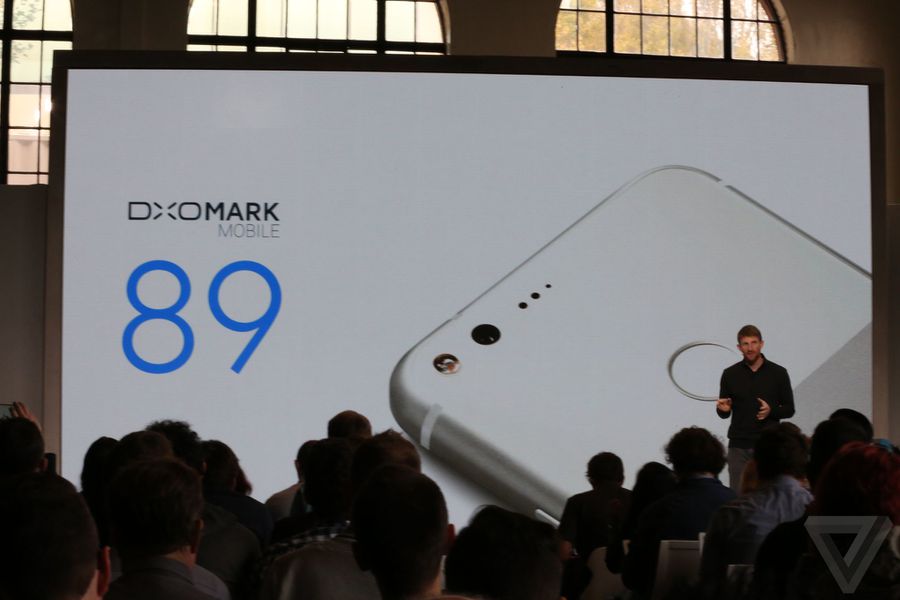
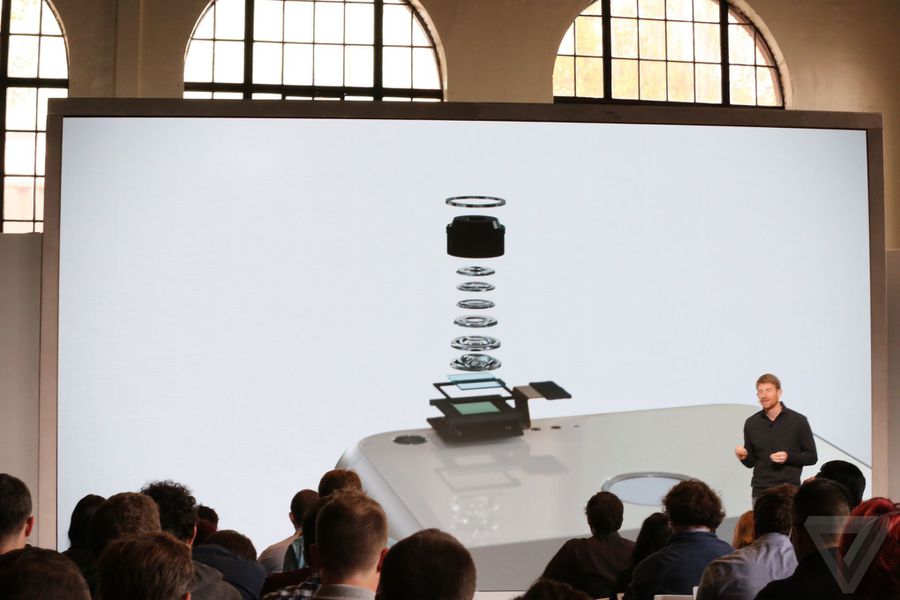
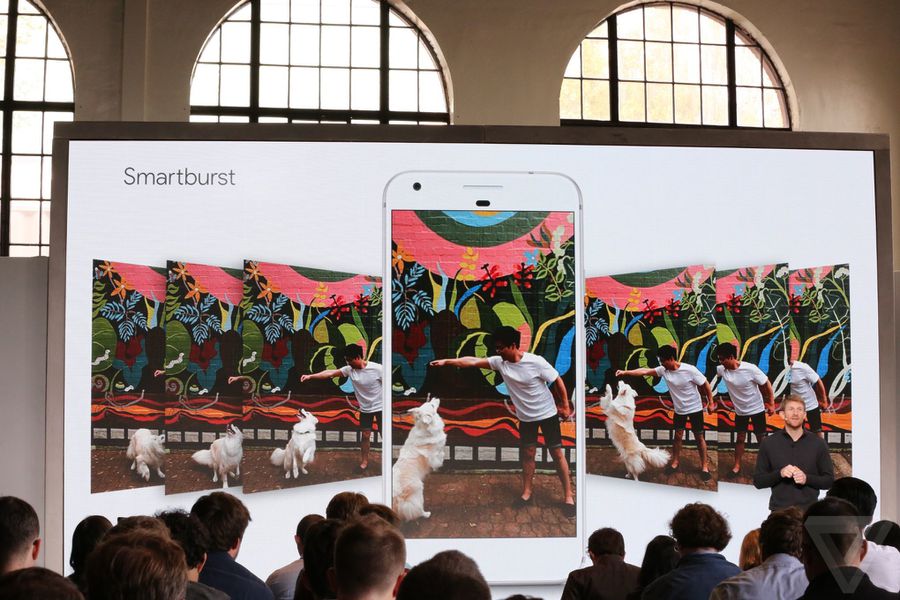
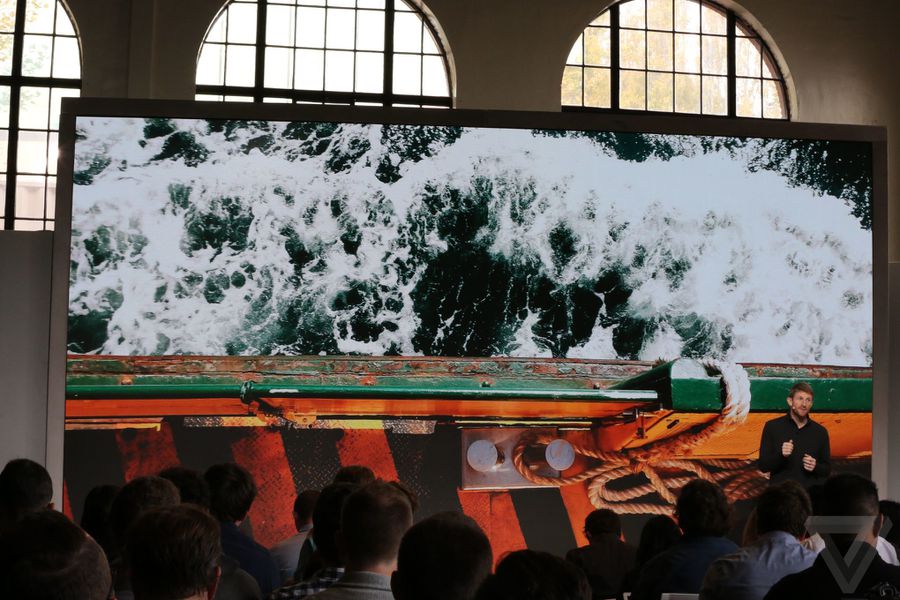
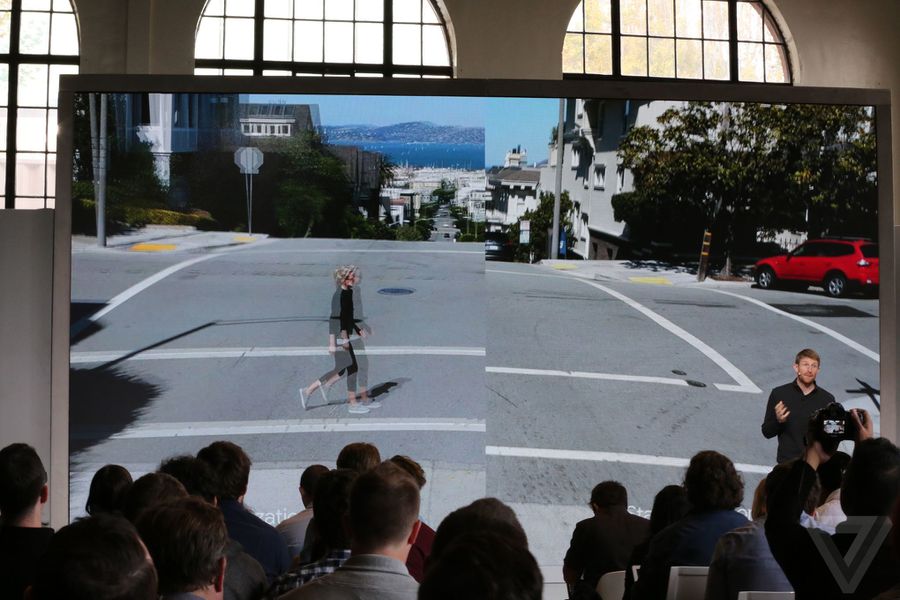
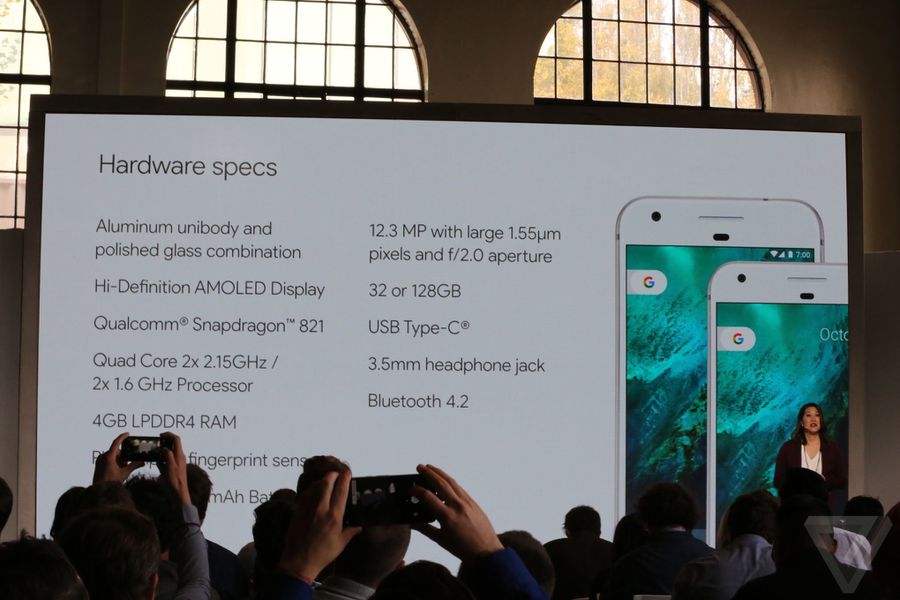
- Camera experience. The Pixel and Pixel XL rear camera scores an 89 in DxOMark, the highest rating ever. That benchmark isn't the most consistent measure of good performance, but at least it's an indicator of the sensor's potential in the new Pixel phones. It has a 12.3-megapixel resolution with large 1.55-micron pixels and an f/2.0 aperture. Google claims that its new camera has "the shortest capture time on any mobile camera ever." There's also very intricate, gyroscope-based video stabilization on board, however there's no optical image stabilization for stills. Google isn't shy in presenting this as the best smartphone ever.

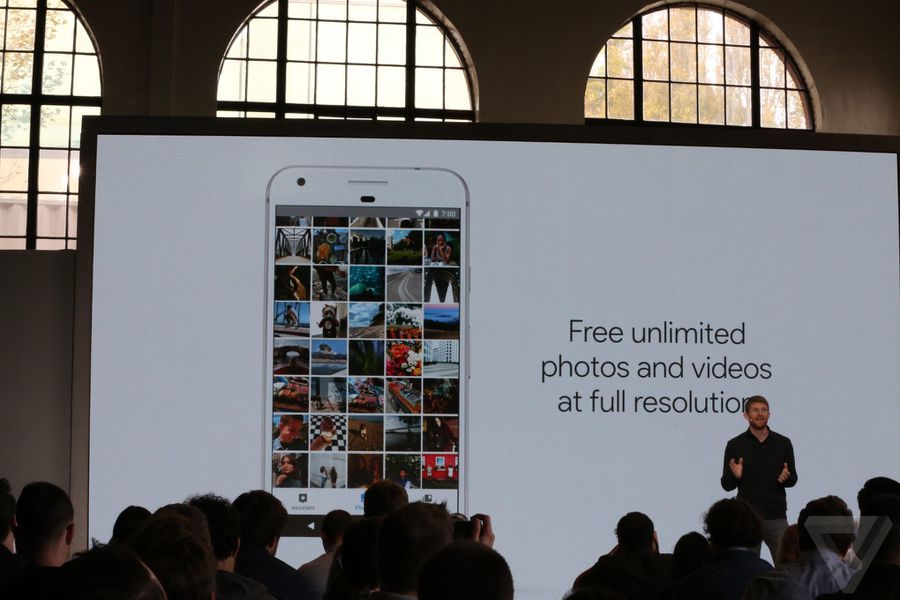
- Endless cloud storage. Google will allow free unlimited storage for full-resolution images and videos shot with the Pixel. That's much like the standard Google Photos backup ability, but takes off the size limit and compression, even on 4K video shot with the new phone.
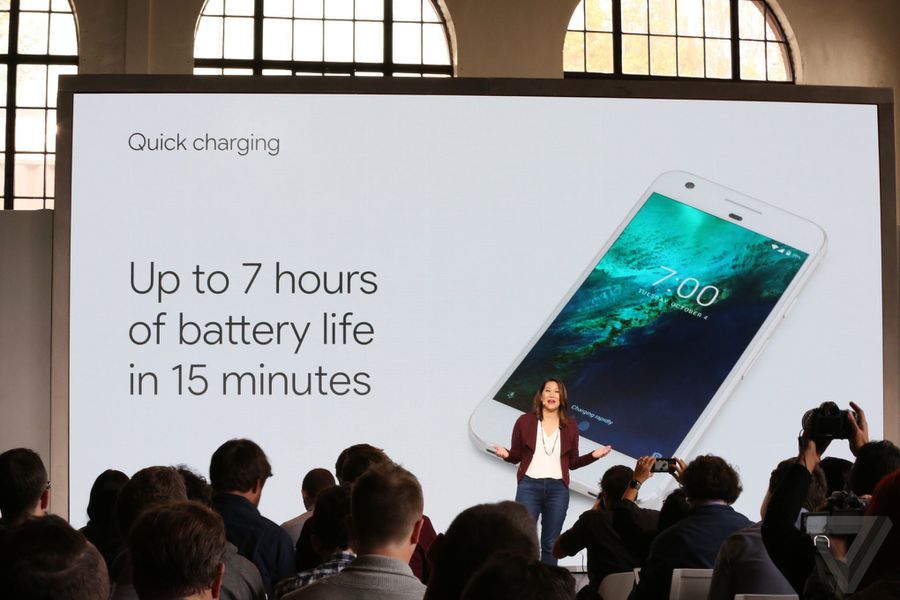
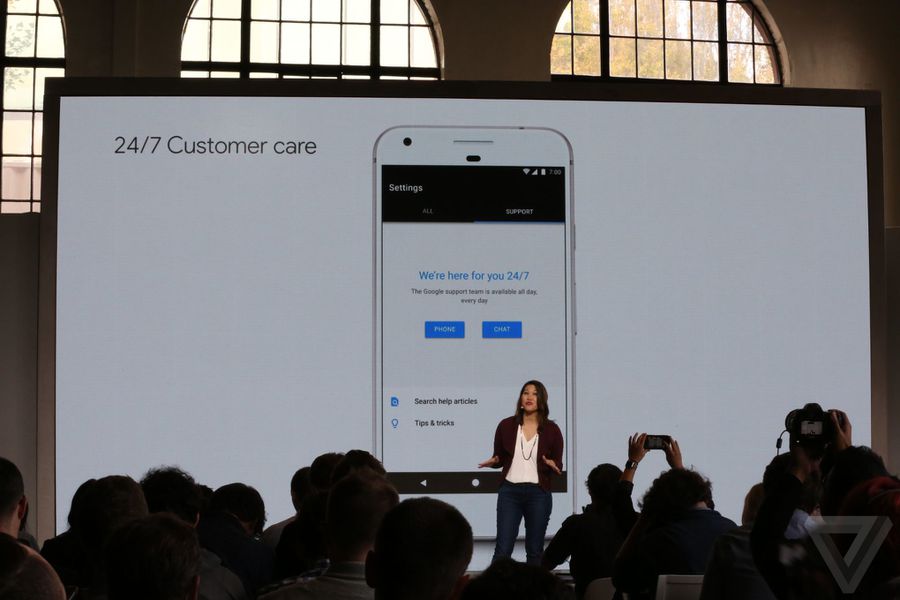
- Connectivity and communications. Pixel users will be getting the latest Android updates directly from Google as soon as they become available. This is one of the biggest pain points with Android, and Google is stressing its lead in this category. The company has also paid close attention to the Pixel's endurance on the move, adding fast charging that gets you up to 7 hours of power in 15 minutes of charging. Google has also built in 24-hour live phone support right into the Pixel's software, so that a tech support operator can see exactly what's on your screen and thus help you better. And yes, the Pixel comes with Google Duo preinstalled, if you've been hankering for the company's video chat app.
- Made for mobile virtual reality. The Pixel is the first Daydream-compatible phone and Google today also announced the $79 Daydream View headset to accommodate the Pixel for VR use. The Daydream View comes bundled with a tiny motion controller that is so precise, claims Google, that you can even draw with it. When you're done using it, the controller tucks inside the Daydream View itself for safe storage.
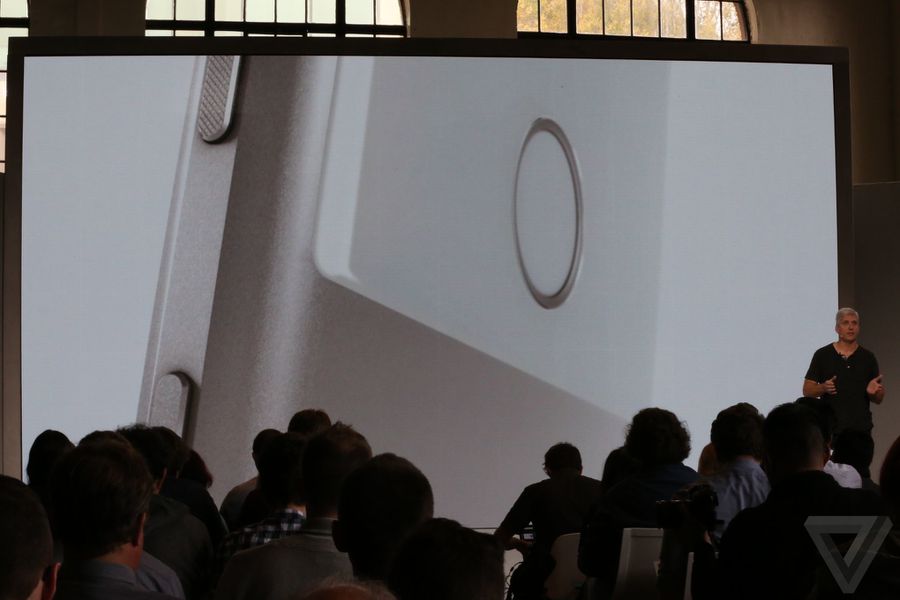
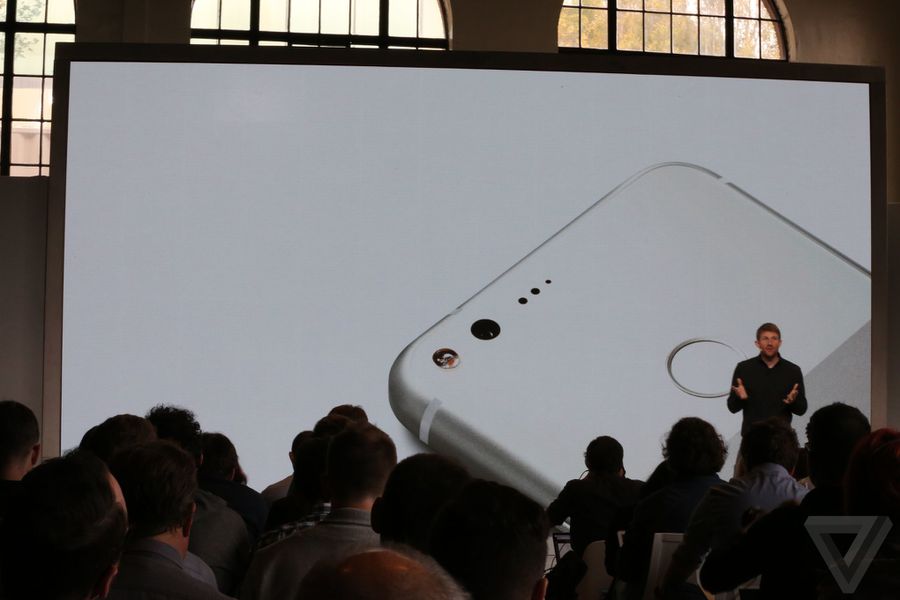
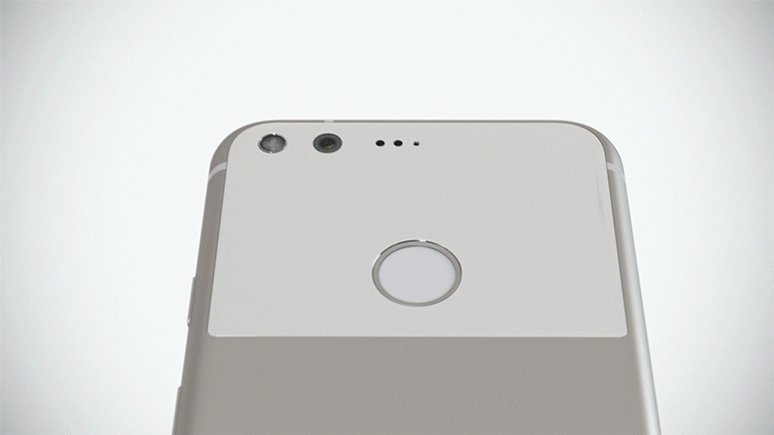
On the hardware front, the Pixel phones are both made out of aluminum with a big glass window at the back, surrounding the camera, flash, and the fingerprint sensor (now dubbed Pixel Imprint). The Pixel XL has a 3,450mAh battery and the Pixel has a 2,770mAh battery. Both displays are AMOLED, both devices have 4GB of RAM, USB-C, a choice of 32GB or 128GB of storage, Bluetooth 4.2, and a 3.5mm headphone jack. Yes, Google felt the need to advertise that last one. Google is also bringing back the Live Cases it introduced with last year's Nexus devices.
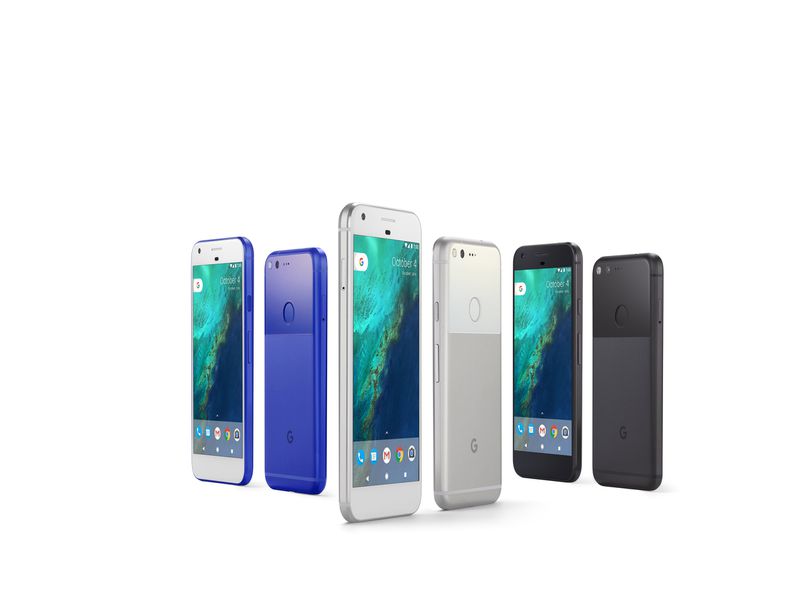
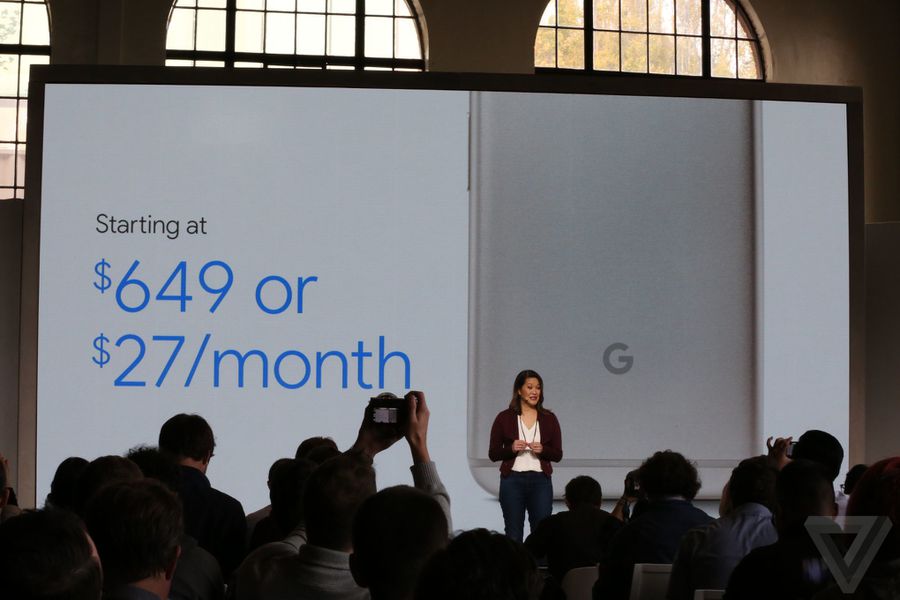
Pricing starts at $649 for the smaller 5-inch Pixel with 32GB of storage, available for preorder today. That number scales up to $749 with 128GB of onboard storage, $769 for the larger Pixel XL with 32GB, or $869 for the XL with 128GB. Google gives a choice between black or silverfor color, with an exclusive "really blue" option with Verizon in the US, though the latter is limited to just 32GB of storage.